April 27, 2026 | Selling
Key Steps To Selling A Home In Toronto

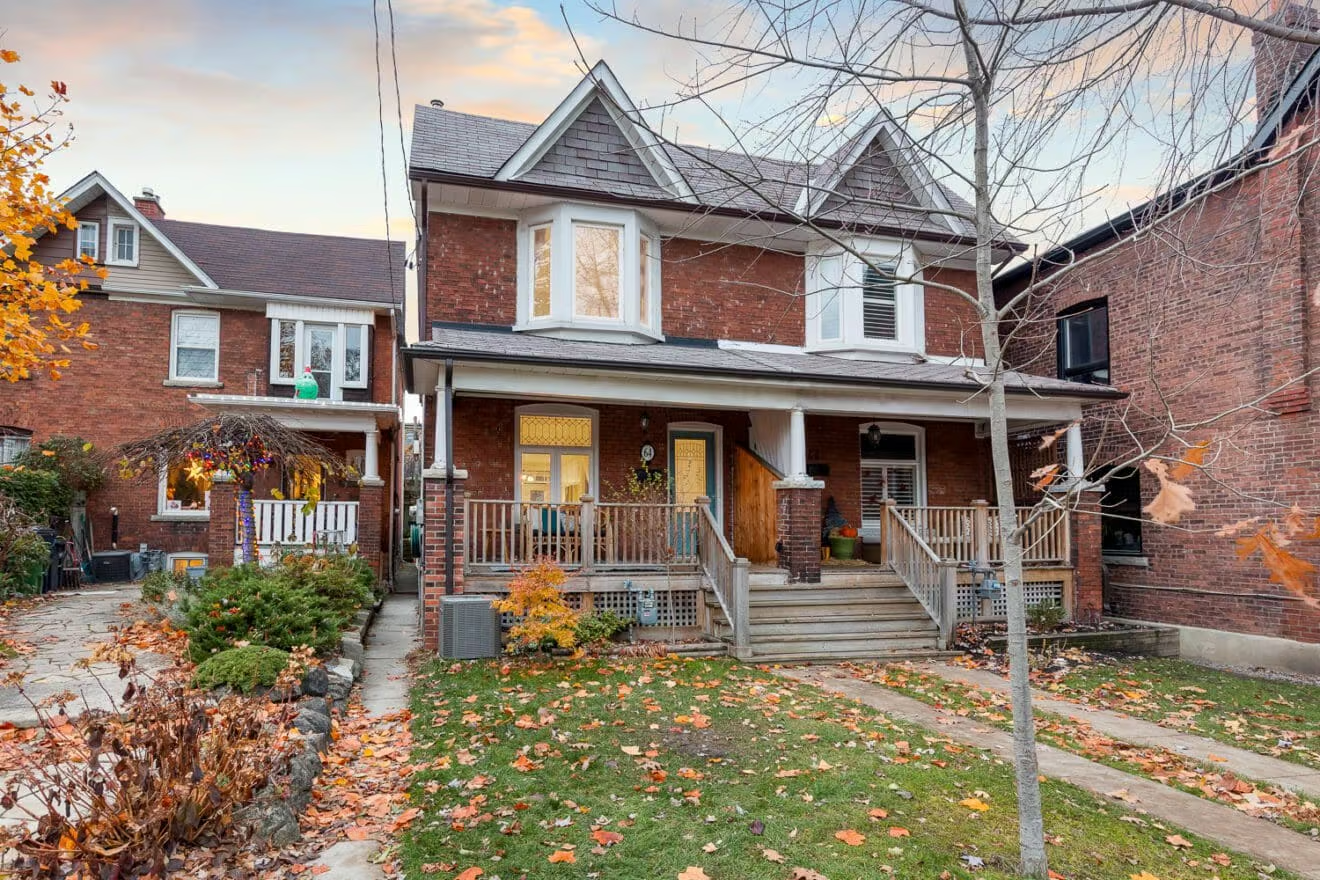
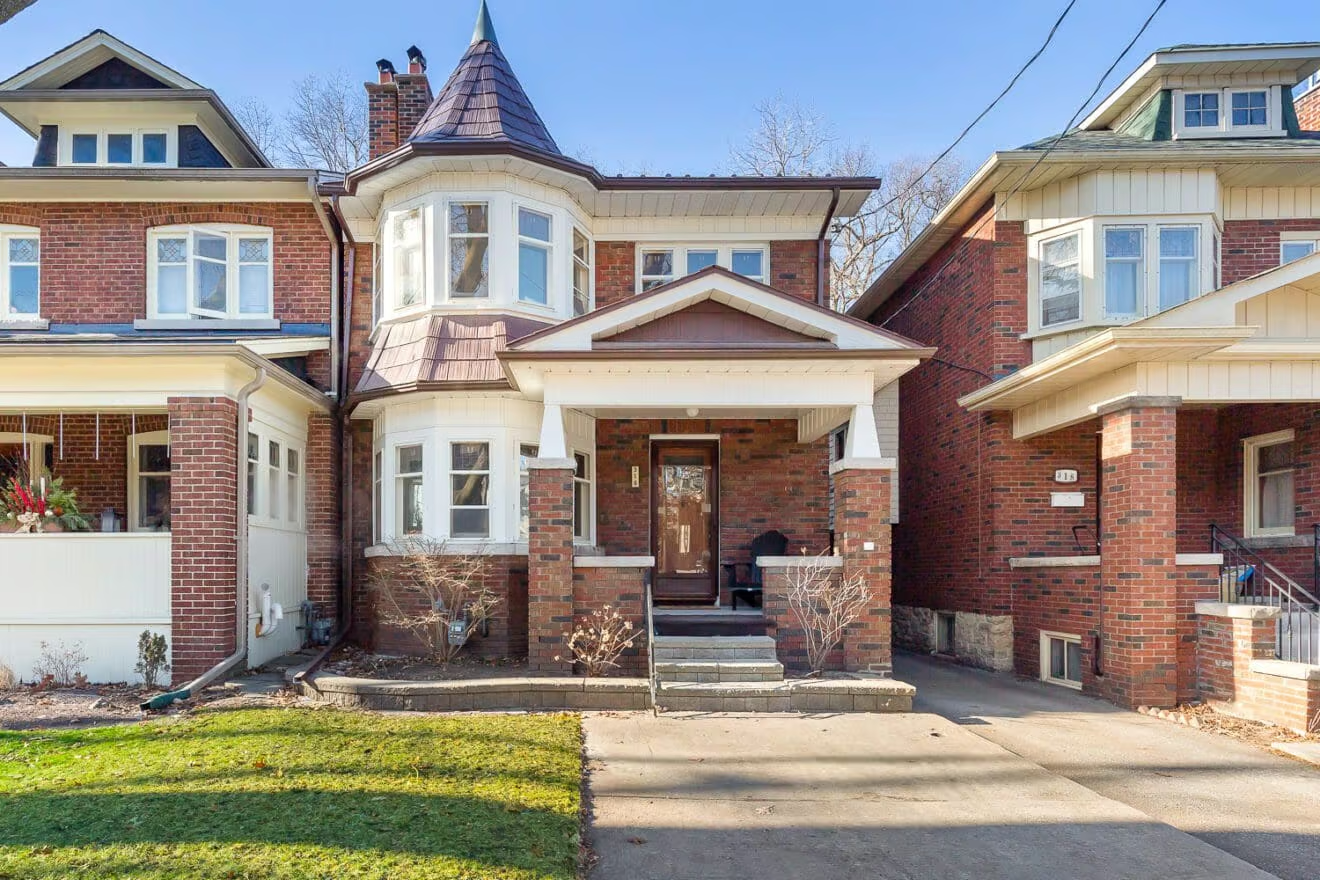
In prime West End neighbourhoods, well presented and priced homes still sell with multiple offers. But selling well and selling for top dollar are two different things. It’s not just about getting the sold sign on the lawn. It’s about knowing every available dollar came home with you, and that nothing was left behind. Today’s buyers are expecting more. They want a showroom experience that holds up online and in person. They are informed, well-resourced, and prepared to spend, but they are also paying close attention. Buyers who feel confident in a home are prepared to pay for that confidence. The ones who aren’t are the ones who negotiate.
Most agents can sell your house. The real question is how much preparation, strategy, and presentation went into the process before the first showing. If you didn’t take full advantage of every tool available, the answer to whether money was left on the table is almost always yes.
At Nested, we’ve built our reputation on getting West End sellers results that speak for themselves. The process behind those results is deliberate, and it starts well before the listing goes live.
How to Sell Your Home for the Most Money: Start Here
The order matters. Sellers who follow these steps consistently come out ahead. The ones who skip or rush them are the ones who wonder afterward what went differently.
Before you get to any of the steps below, there is one thing worth saying plainly: the earlier you contact an agent (Step 1), the better the outcome tends to be. Three to six months before you plan to list is a reasonable lead time. A year out is not too soon. The difference between calling an agent the week you decide to sell and calling them months in advance is the difference between reacting and preparing. A good agent will walk through your home with fresh eyes, identify what is worth addressing before you list, help you sequence the work, and give you a realistic picture of the market you are heading into. That time is not wasted. It is where a significant amount of the value gets created.
Step 1: Interview Local Realtors & Get A Home Valuation
The very first thing you want to do is interview a couple of local realtors. As stated above and if time permits, you should do this three to six months before you plan to list your home. Before you contact them, visit their website and get to know them a little online. Skip anyone you’re not intrigued by. Chances are if they haven’t impressed you online, they won’t wow potential buyers with their marketing tactics either. Ask them to give you a home valuation and find out important information about what they include in their listing package, such as full home staging, cleaning, online marketing strategy as well as how experienced they are in offering meaningful intel on valuable home improvements and pricing strategies.
The biggest mistake we see sellers make is hiring a realtor based on the highest valuation price. We all know the market will ultimately decide on the selling price, and understanding listing price strategies will be the driving factor. Another common mistake is hiring a realtor based on the lowest commission versus the end result of the actual sale. A quality full-service realtor will charge a higher commission rate based on the services they offer that will ultimately make you significantly more money in the end, save you time, and lessen the stress.
Read these posts next to learn more about choosing the right real estate agent to sell your home:
- Should You Hire a Friend to Sell Your Home?
- What Makes a Great Real Estate Agent in Toronto’s West End
- Hiring the Right Real Estate Agent in an Unpredictable Market
Wondering how much your home is worth? Maximize your property sale and get a free evaluation here.
Step 2: Decide On A Listing Timeline
The timeline you work with shapes everything. More lead time means more options, and more options almost always mean more money.
If you are listing within one to two months, pick a date and commit to it. Your agent should provide a detailed listing calendar that maps out every task between now and launch day, from preparation work to photography to the first showing. That structure keeps things from slipping and makes sure nothing gets missed in the final stretch.
If you have three to six months, use it. That lead time allows for home improvements that genuinely move the needle on your sale price, work that simply isn’t possible when you’re rushing to list. It also gives you the space to declutter properly, donate what you no longer need, and approach the preparation without the pressure of a looming deadline.
With longer timeframes, Nested also always suggests hiring a home inspector to ensure any issues can be fixed before the house hits the market. We learned this lesson early. There are few worse positions to be in as a seller than discovering an issue right before going to market that you didn’t know about and now don’t have time to fix. An early inspection puts you in control of that situation. Issues that are identified early can be addressed, disclosed transparently, or priced accordingly. Any of those outcomes is better than being caught off guard.
Learn more about the listing timeline and how to maximize your sale by reading What’s the Fastest Way to Sell Your Home?
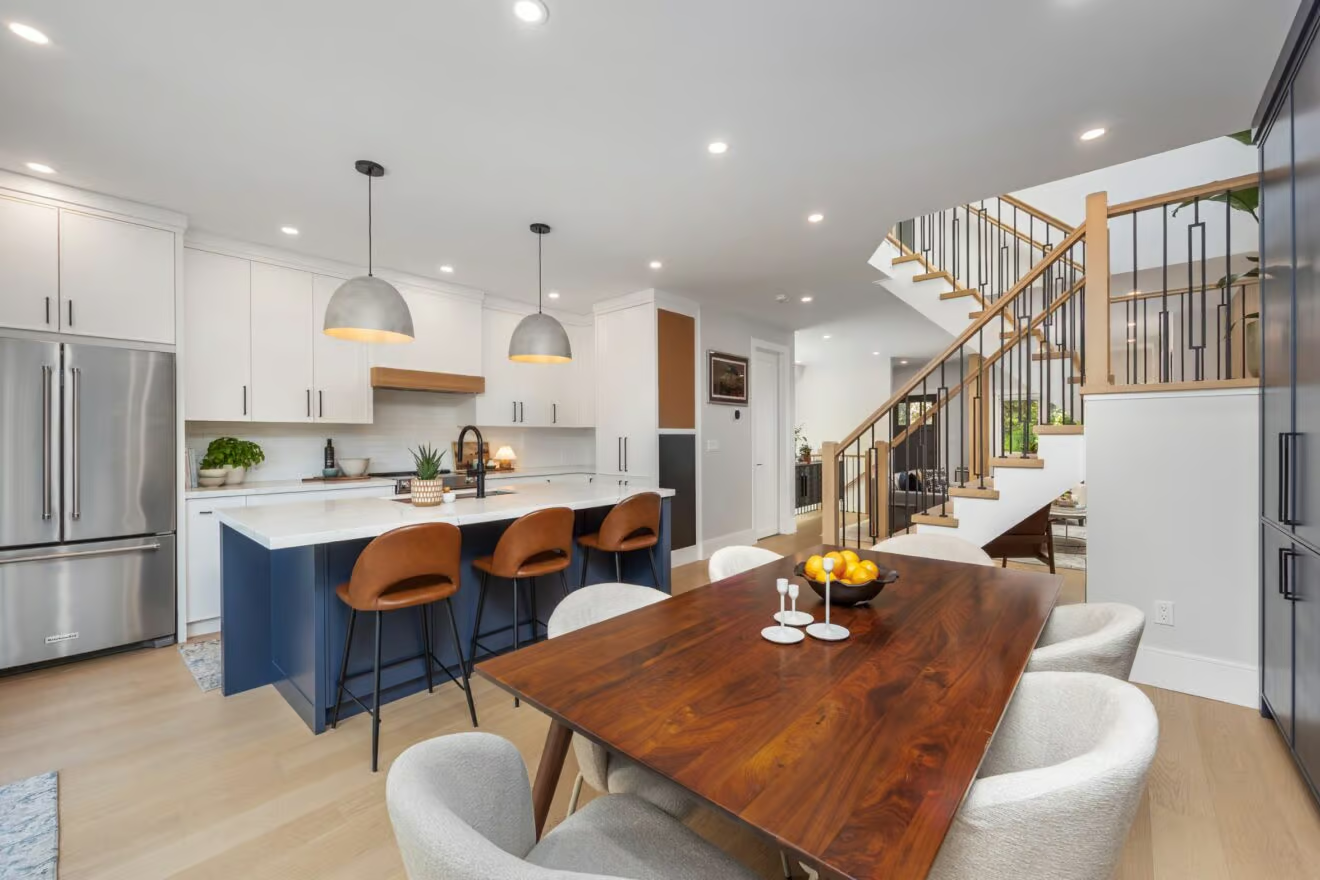
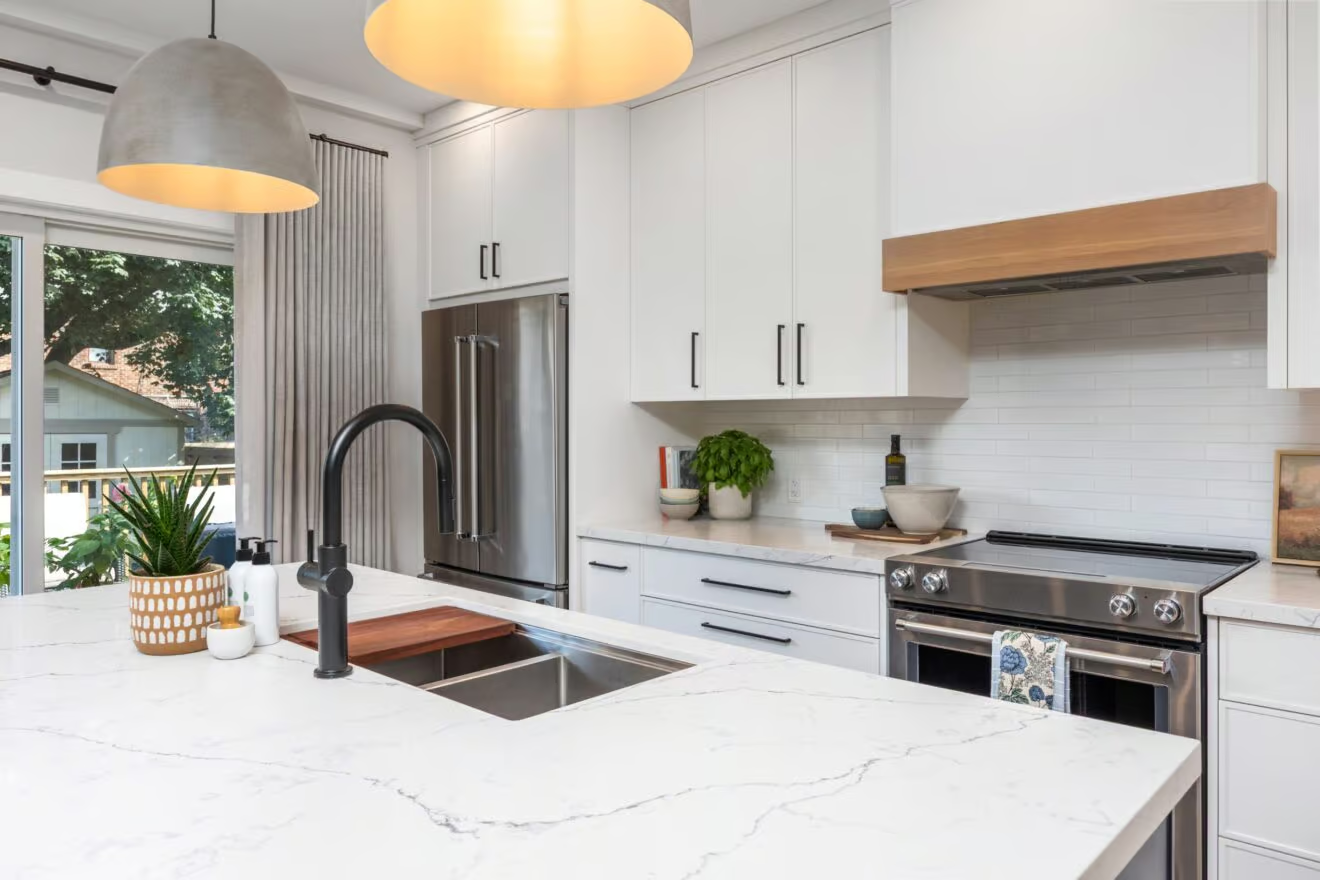
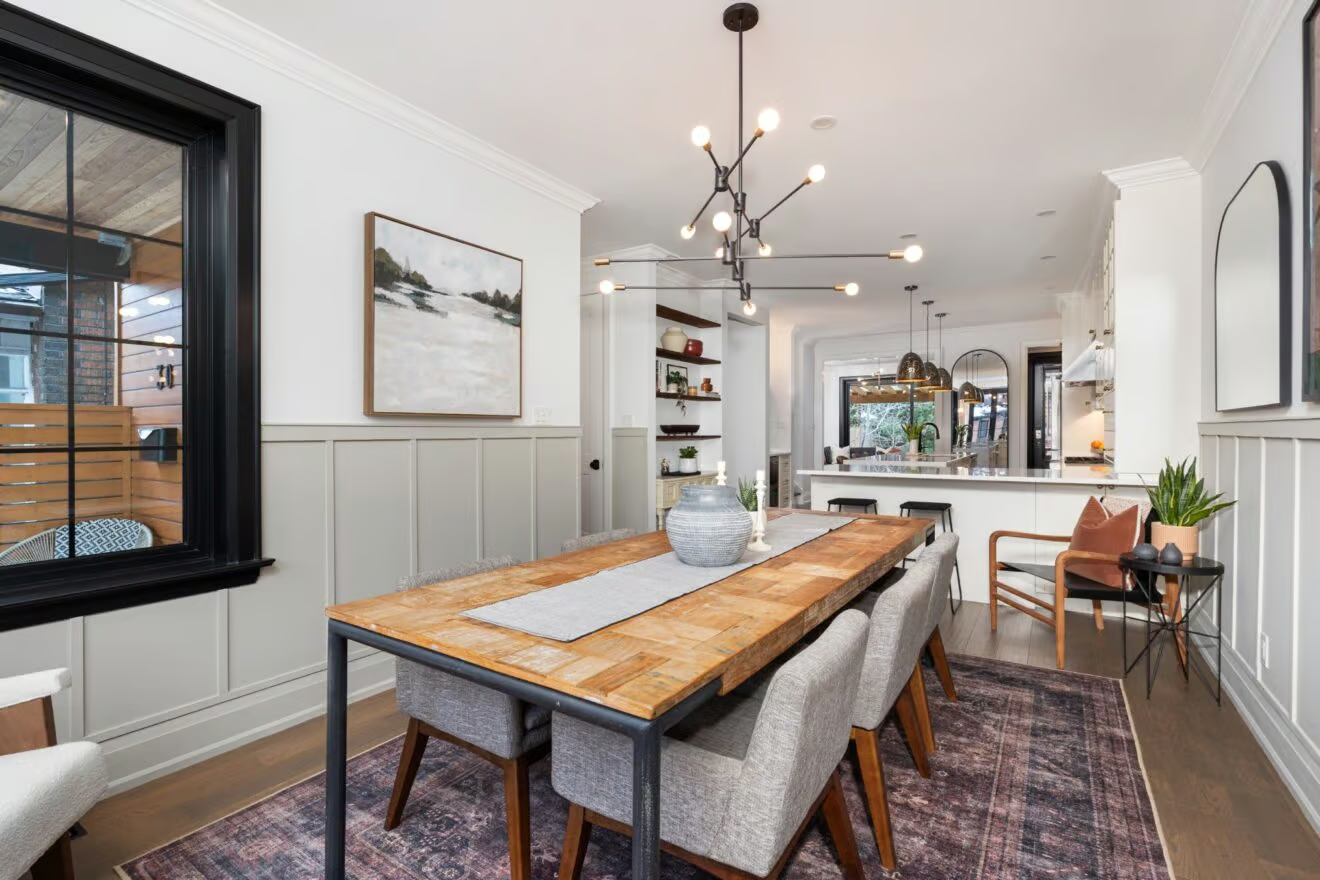
Step 3: Prepare Your Home For Sale
This step does not have to be expensive. In fact, most of the preparation work that moves the needle falls into the category of minor updates, not major renovations. A fresh coat of paint in a neutral tone. Hardware that doesn’t look dated. Light fixtures that feel current. Small things that signal to a buyer that the home has been looked after.
The two things that make the biggest difference here are decluttering and trusting the process. Decluttering is harder than it sounds. You are living in the home, and what feels normal to you can feel crowded to a buyer walking through for the first time. Clear the surfaces, edit the furniture, and give every room room to breathe. The goal is to help buyers see the home, not your life in it.
The staging piece is where sellers sometimes push back, and it is almost always worth letting go of that instinct. A good stager sees the home the way a buyer will. Their recommendations are not personal. They are strategic. Sellers who trust that process and follow through on the preparation their agent recommends consistently see it reflected in both the speed of the sale and the final number. The investment of time and money at this stage almost always comes back to you, and then some.
Step 4: Decide On A Listing Price & Strategy
In today’s hot seller’s market, the typical strategy will be pricing strategically low to drum up multiple offers and ultimately have buyers bid on a scheduled offer date. In some neighbourhoods in Toronto, this strategy doesn’t apply and your realtor needs to be in tune with what is happening in your market. You want to ensure you are following the lead of the other listings so as not to confuse active buyers who are most likely viewing multiple homes per week. Having a clear and defined listing strategy will ensure you are staying informed and in the loop.
For more pricing information read: How To Successfully Sell Your House
Step 5: Move Out For The Listing Period
One important piece to the home-selling puzzle is ensuring the home is vacant during the listing process. This includes the staging period when the house will be professionally staged, cleaned and photographed. Once your prep work is done, you should be able to hand it over to your realtor and not worry about a thing.
In West Toronto, well-prepared and well-priced homes with the right strategy are still selling within a week using the offer day strategy. In this scenario a seller will need to vacate their home for a minimum of 12-14 days to ensure there is enough time for staging and a successful sale. Once your house sells and all staging pieces are removed, you are free to move back in until the closing period. It is a short-term inconvenience that allows for professional home staging that consistently produces better results. Build it into your plan from the start.
Check out this related post on: Top 5 Staging Tips To Help Sell Your Home For More Money.
Step 6: Review and Accept an Offer
How offers come in depends on the property, the market, and the strategy your agent recommends. In most West End neighbourhoods, well-prepared homes are listed using the offer day strategy: all offers are reviewed on the same evening, creating a structured competitive moment that works in the seller’s favour. In softer pockets of the market, or with certain property types like condos, you may be reviewing offers as they come. This is referred to as offers anytime, and it calls for a different pricing and negotiation approach. Your agent should be clear with you about which strategy applies and why before the home lists.
When an offer lands on the table, you have three options: accept it, reject it, or counter on price, closing date, conditions, or other terms. None of those moves should feel rushed. Review every document with your agent in detail before signing anything. The key elements to understand are the purchase price, the deposit amount, the closing date, and any conditions that need to be fulfilled before the agreement becomes firm. Conditions typically relate to financing or a home inspection, and each one carries implications worth understanding fully.
Step 7: Take Care of Your Home Through to Closing
The sale is firm, but your responsibility to the home doesn’t end there.
During the closing period, the buyers are entitled to visit the property. These are called buyer visits, and they typically happen two to three times, each lasting one to two hours. The number and length of visits is negotiated before the agreement is finalised. Use them as an opportunity to show the home at its best.
To read more about buyer visits click here Why You Should Always Take Advantage Of Your Buyer Visits
Keep the home well maintained inside and out through to closing. That means lawns watered and gardens tended in the summer months, and the interior kept in the same condition it was in when the buyers made their offer. Review your Agreement of Purchase and Sale carefully, particularly Schedule A, which outlines what stays with the home and what you are permitted to take. If it was agreed to, it needs to be there on closing day.
On closing day, the transfer of title and funds is handled by both lawyers. Your part is straightforward: leave the home clean, well-presented, and ready for its new owners by noon.
If you’re thinking about selling your home soon, get in touch with Nested Real Estate to learn about our proven strategies. Fill out the form on this page, or give us a call/send us an email today!

Download Our Selling Guide
For everything you need to know about selling a home in Toronto’s West End, download our Selling Guide here.